

As the original designers of the oversized wood ruler growth chart -which has become far more popular than we ever imagined- we offer the highest quality kit to help you create an amazing wood growth chart of your own.

You can create the wood chart using this vinyl decal kit and wood from your local home improvement or hardware store. The decal can also be applied directly to the wall.
The kit includes:
1 vinyl decal - 7 feet long
Full application instructions
The decal is created in one piece fore easy application.
Decal Size:
2.5 inches wide (6.5 cm)
7 feet long (212 cm)
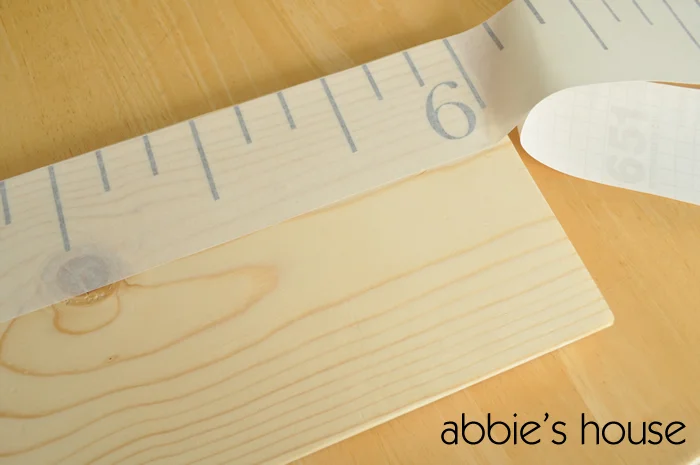
*The decal is shown applied to a 6 foot board, but is actually 7 feet long so that it can be adjusted to your needs.
*For an easy application, we recommend applying the decal within 2 months of purchase.
Instructions for prepping the wood for the Ruler Growth Chart
You will need:
One 1x8x6 pine board (1 inch thick, 8 inches wide, 6 feet long)
The board is called a 1x8 but the actual size is closer to 3/4 of an inch thick and 7 1/2 inches wide. The length should still be 6 feet long. Most home improvement stores carry this size in stock, so there is no cutting involved.
To Finish the Board:
The edges can be sanded until smooth. The board can then be painted with a good interior paint or stain and allowed to dry for 2-4 days before applying the decal.
The board can also be finished with an oil such as Boiled Linseed Oil. This will give it a finish while leaving the natural look of the wood. Follow the directions on the can and use it sparingly - paint it on and then wipe off the excess. This process will need to dry for 6-8 days before applying the decal.
Applying the Decal
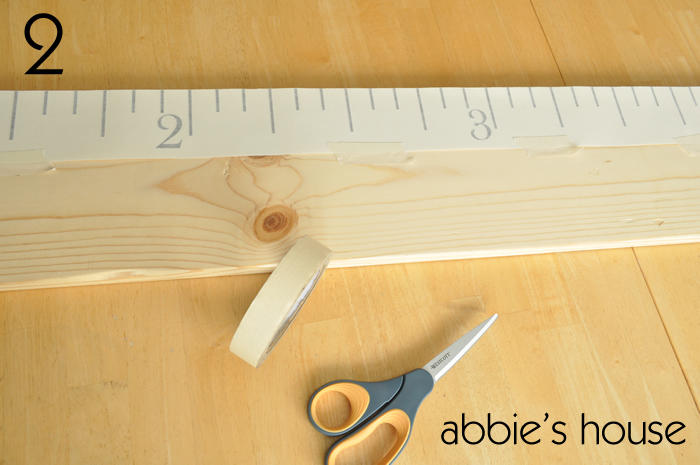


Before you begin, trim the edge of the decal, near the marks so that you can line it up with the edge of your wood. If your plan is to apply it to a wall, draw level marks to align the decal with.